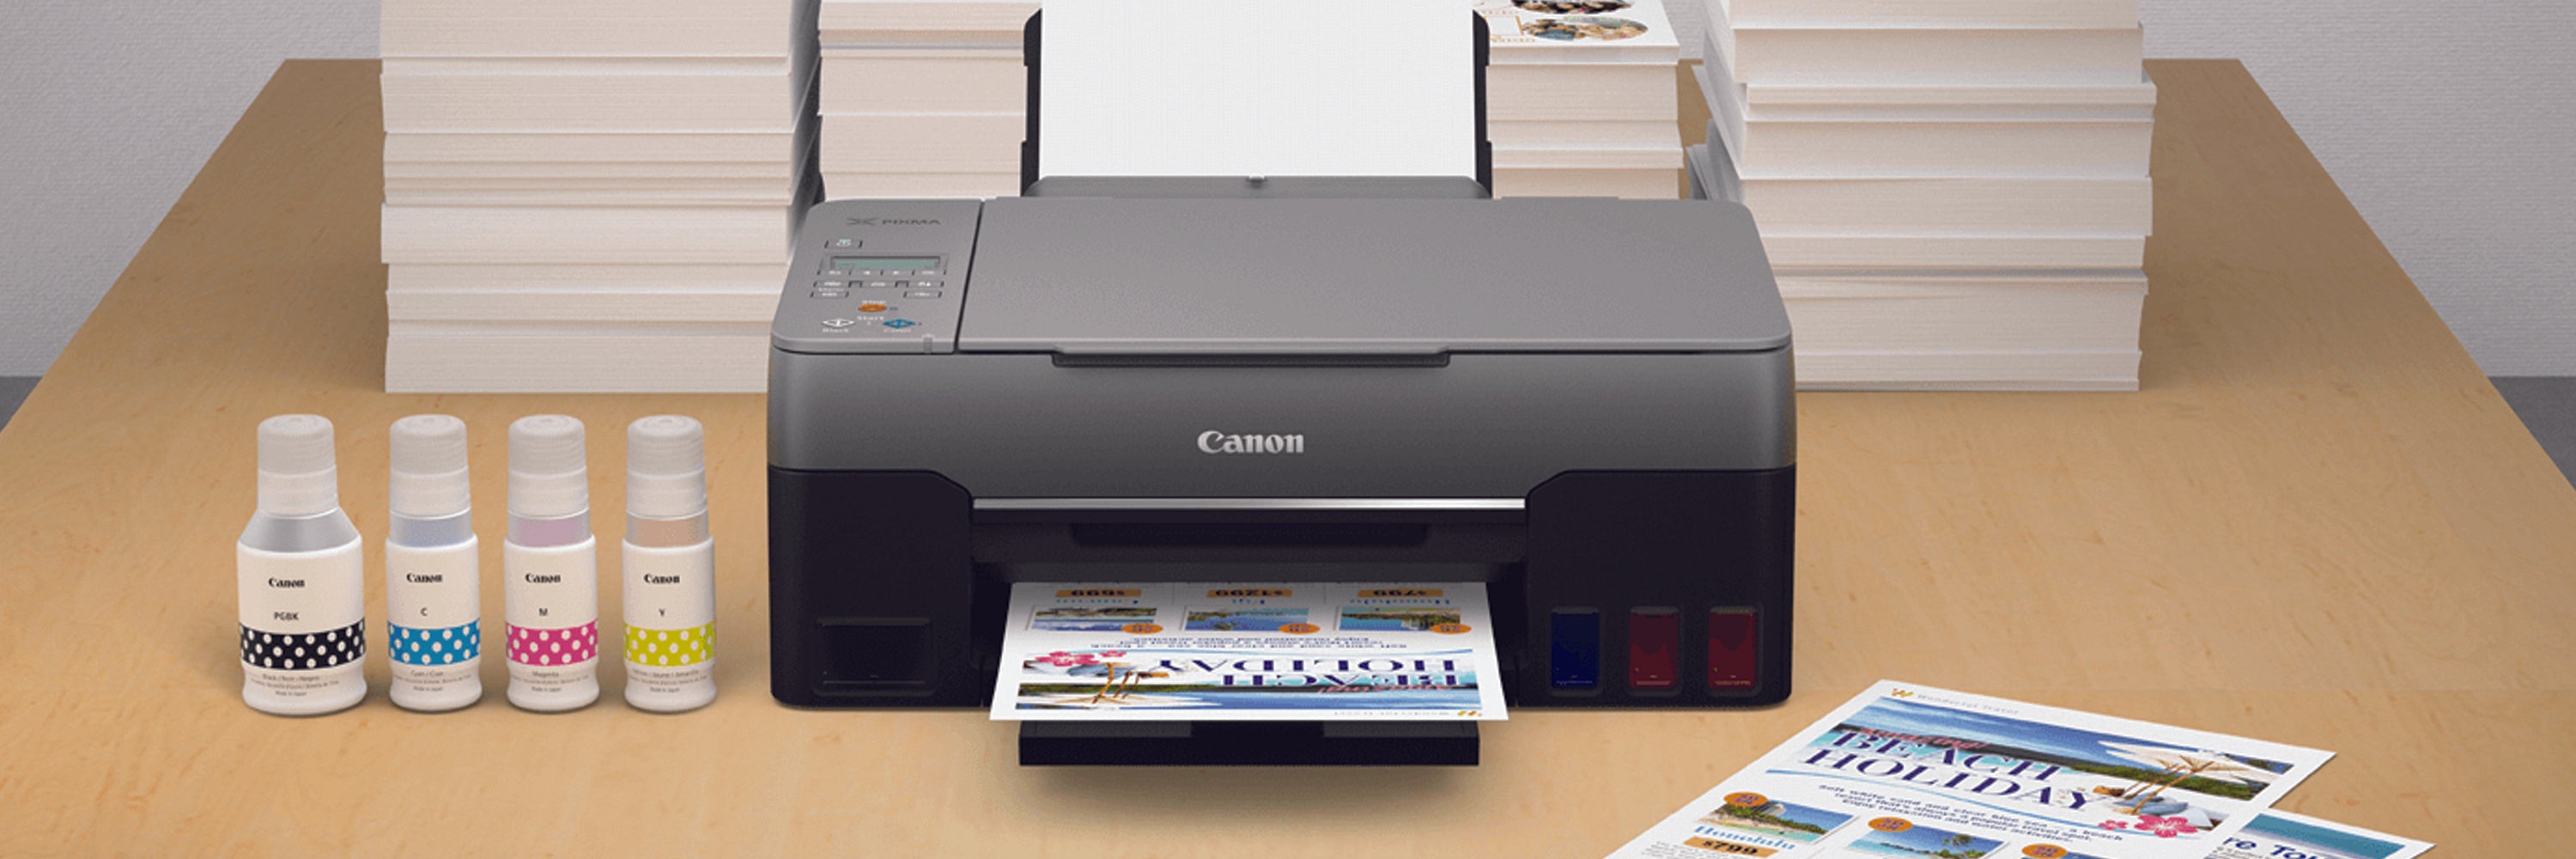
Canon pixma ink cartridges were made with a fixed lifetime, meaning it can only be good up to the warranted coverage in printed pages. So, when doing ink cartridge refill, see to it that the print head is still ok, or print quality will suffer.
Hereunder are sequences involved in the four to six color Canon pixma ink cartridge refill:
- First, remove the label, normally found on the top of the empty cartridge. This is to expose the round plastic stopper, and this is where new ink is to be injected.
- Seal the bottom of the cartridge to prevent ink from leaking out, use the orange plastic cartridge cap that comes with the cartridge. Or use a piece of cardboard if the plastic orange cartridge cover can’t be found.
- Pull out the stopper at the top of the cartridge, use the accompanying enlarging tool that came with the kit. Or heat a small screw and drive it into the stopper, and once in place use pliers to pull the stopper out.
- Fill the syringe that came with the pack with ink, just follow the ink manufacturers instruction. Take note that some syringes may be pre-filled by the ink manufacturer.
- Insert the ink filled cartridge through the stopper hole and push the plunger gently to release ink.
- Remove the plastic cover at the bottom of the cartridge to allow excess ink to drip through.
- Seal the stopper hole, use the small plastic end of the syringe plunger.
- Ink refill is now complete. Place the cartridge into the chip device reset and wait for the beep or flash, signifying that the ink cartridge is now ready for use.
All canon pixma ink cartridges are designed with chip page counters, or ink level sensors that automatically stops the printing operation once the limit is breached. In ink cartridge refills, the chip reset must therefore be made before the refilled cartridge can be used. Failure on the part of the user to reset the chip makes use of the refilled cartridge impossible.
Next time ink refill is made, follow the set of instructions religiously.


