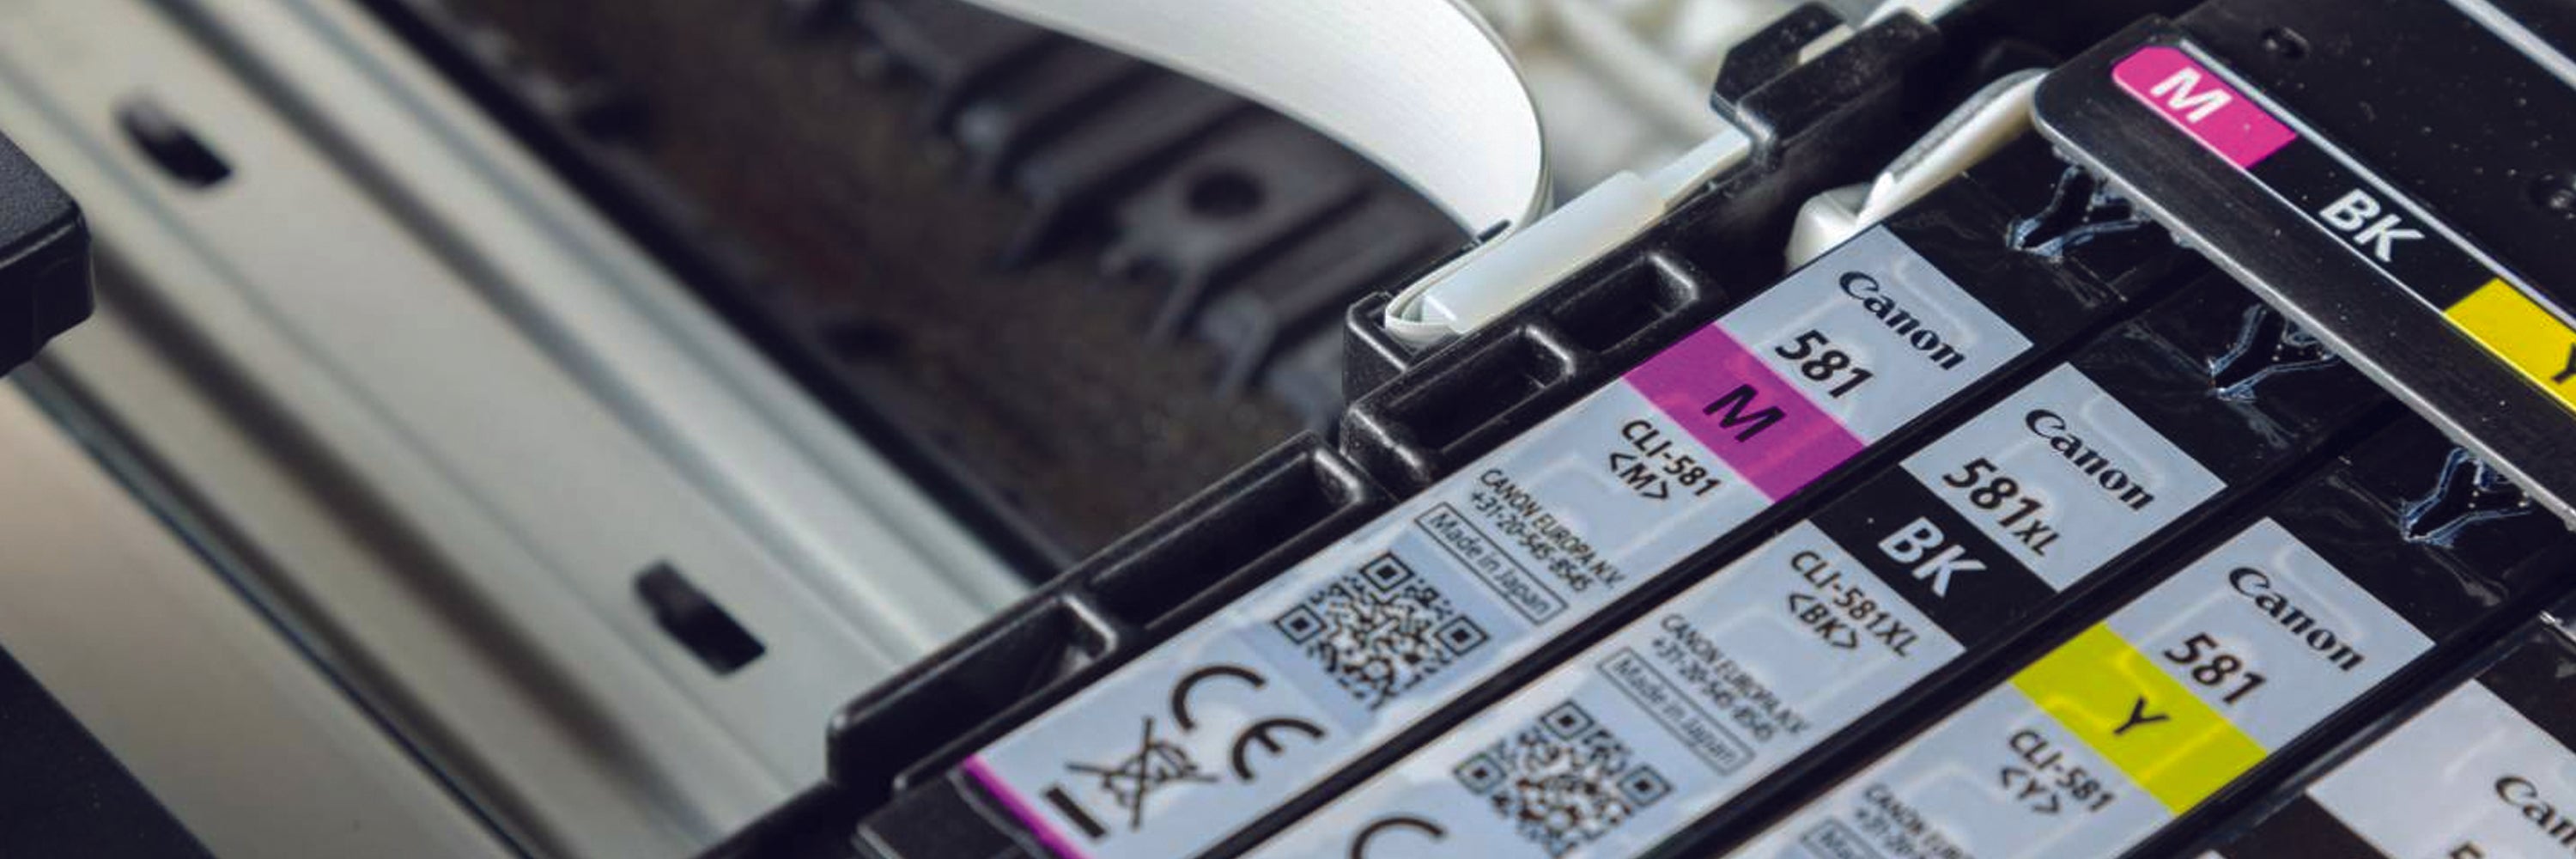
Inkjet printers typically use series of color cartridges for its printing operations. Rows of Canon ink cartridges for instance need to have the printhead aligned to avoid printing irregularities.
This is not much of a problem when the printer is new, because the manufacturer is expected to deliver a printer with ink filled ink cartridges and already aligned printheads. But once the ink in cartridges is used up, the user must do the replacement of cartridges and alignment of printheads all by himself or herself. That is to still enjoy the quality printouts previously experienced.
Ink cartridges are bundled in a common mounting rack attached to a mobile horizontal carriage track. Paper travels vertically through the printer and as the carriage moves horizontally, ink is injected into paper in multiple narrow lines until the image is completed. Since color is rendered by layering, all cartridges must print on the same horizontal axis, misaligned printhead therefore results in poor print quality.
However, replacing or aligning printheads is as easy as brushing one’s teeth, and needs only a few minutes to complete. Alignment is an automated feature in most printers, but the user need to initiate the process to allow adjustments as required.
- Power up and switch on the connected printer and computer. Open the top of the printer and push in the reset button, the cartridges will move to the start position.
- Pull out the empty cartridge or cartridges by releasing the holding mechanism or any other clip retainers holding the cartridges.
- Take out the cartridge from its packaging, and remove the protective tape covering the electrical contact points, normally found at the bottom of the cartridge.
- Install the cartridge into the printer, press the cartridge gently until it snaps securely into place. Do the same when pulling out cartridges from the printer. Do a test print and align printheads when necessary.
Alignment sequence are as follows:
- Look for the printer utility program on the printers desktop or type the printer name or model into the search box and open the utility dialog box.
- Click on the maintenance button or tab and click align printheads or similar worded information.
- Click “print alignment page”, this will print a test page with numbered series of vertical bars in different colors. Once satisfied click “ok” or “finished” and start the automated alignment procedure.
- That’s about it, once printhead alignment is complete, actual printing runs can proceed.
Canon ink cartridge replacement and printhead alignment is a really a friendly process, just follow the sequence dutifully and nothing should go wrong.


