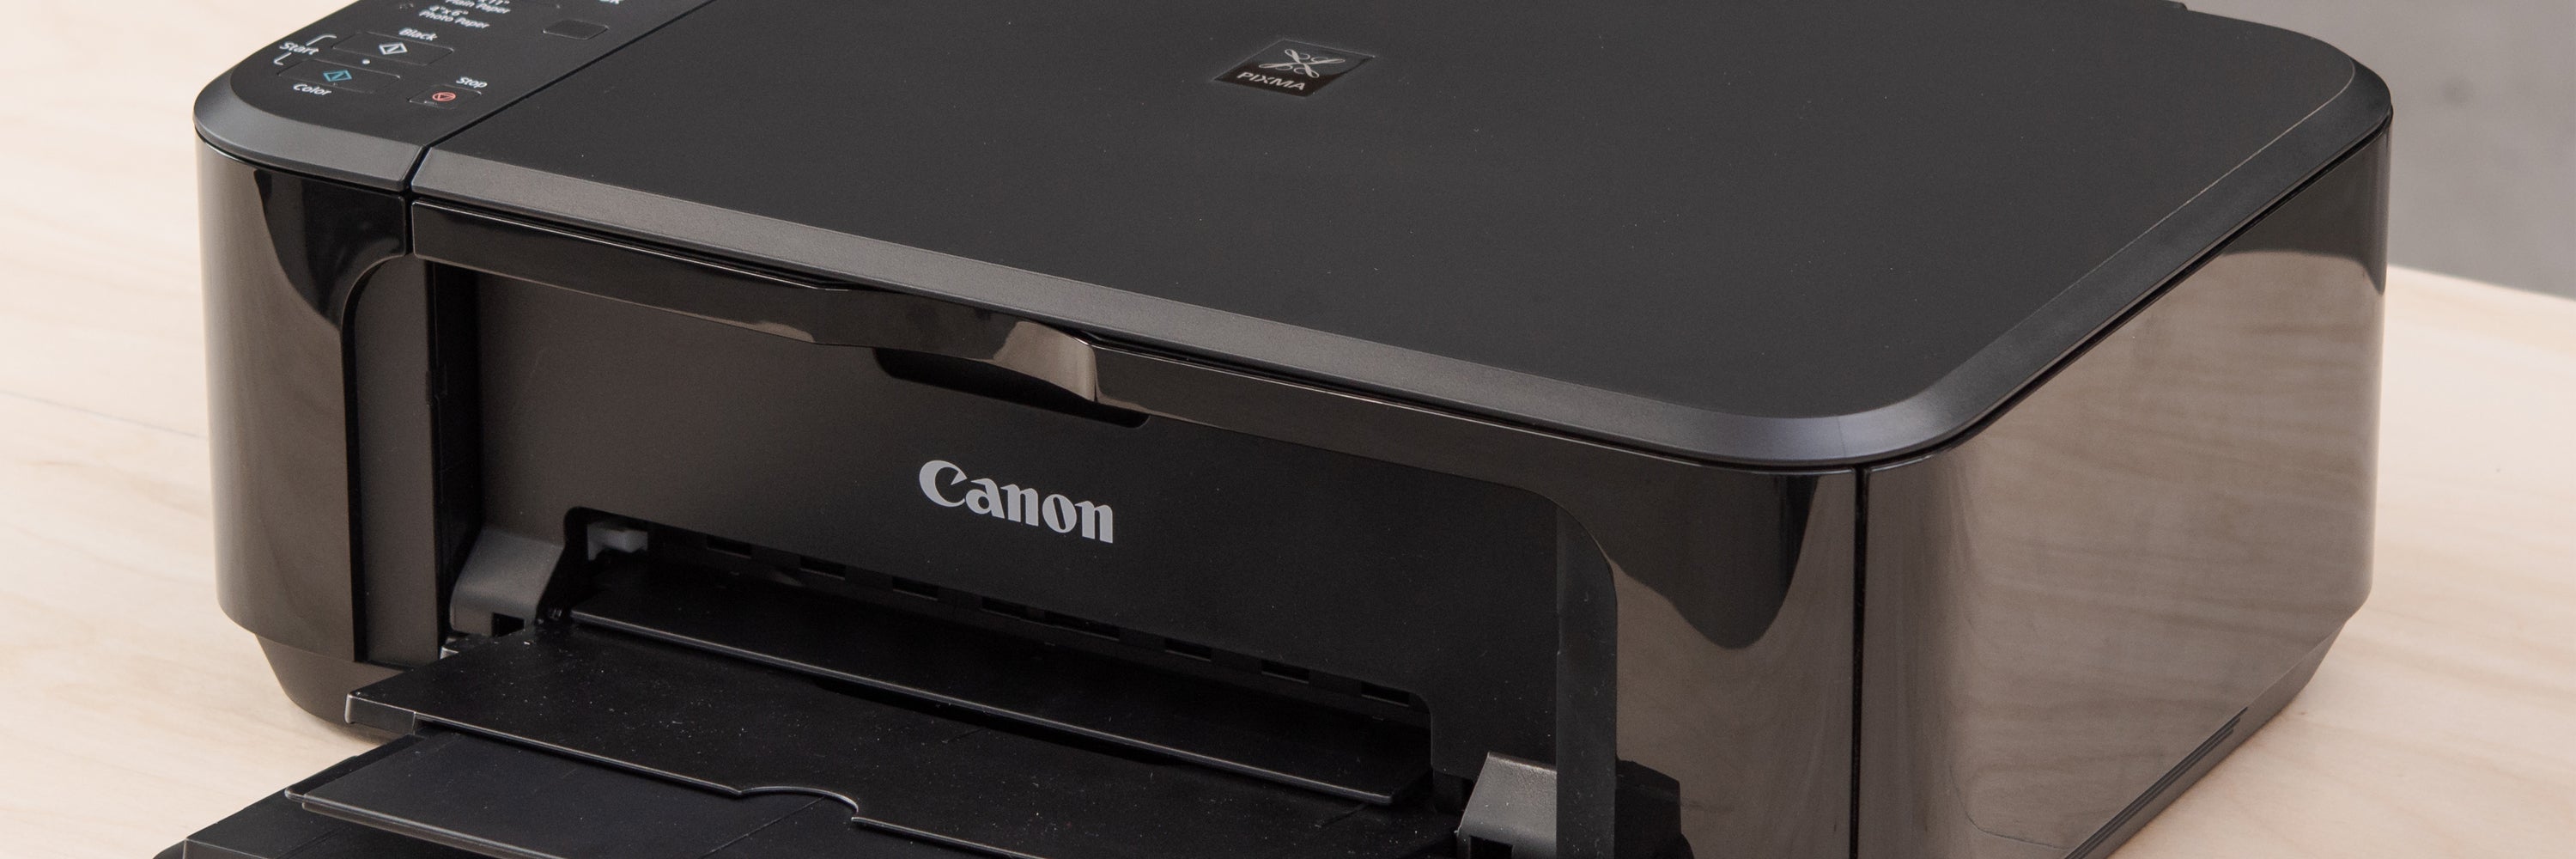
For added convenience users prefer wireless over that of wired printer connection, but it comes with a baggage - an Internet signal. Seeing the need to simplify install canon printer, a WPS button is added precisely to breeze through a wireless connection.
A WPS (WiFi protected setup) button is the most convenient process to install a printer to connect to the area wireless network. It is actually a shortcut in the sense of the word in lieu of the more cumbersome standard connection method. This is designed for users to do away with the hassle and just plug the devices, push the WPS button and print.
Although it is quite easy, there are still some protocols and preparations to follow before pushing in the WPS button. First, take a critical look at the WiFi access points or sometimes referred to as routers or hubs. The router must have a WPS button available otherwise, the user will have no other option but follow the standard connection method.
Most WiFi network use a WPA (WiFi Protected Access) or WPA2 security protocol and to connect is as detailed below:
- Once the printer is turned on press and hold the WiFi button usually found on top of the printer for a few seconds until the orange alarm flashes once and release.
- Wait for the WiFi button to start to flash blue, then proceed to the access point and press the WPS button within the next 2 minutes.
- The blue WiFi lamp on the printer will continue to flash while searching for or try to connect to the access point. At anytime the green power lamp will also start flashing and once connection is made to the wireless network, flashing stops while both lamps stays lit.
- A password is required to enable quick and easy access of connecting the devices.
Summing up, this is the easiest method to connect devices through the use of the WPS button.
To the countless Canon subscribers, remember install canon printer to the wireless connection is quick and easy if the access point has a built-in WPS button.


